
Five Ways to Avoid Chafing When Cycling
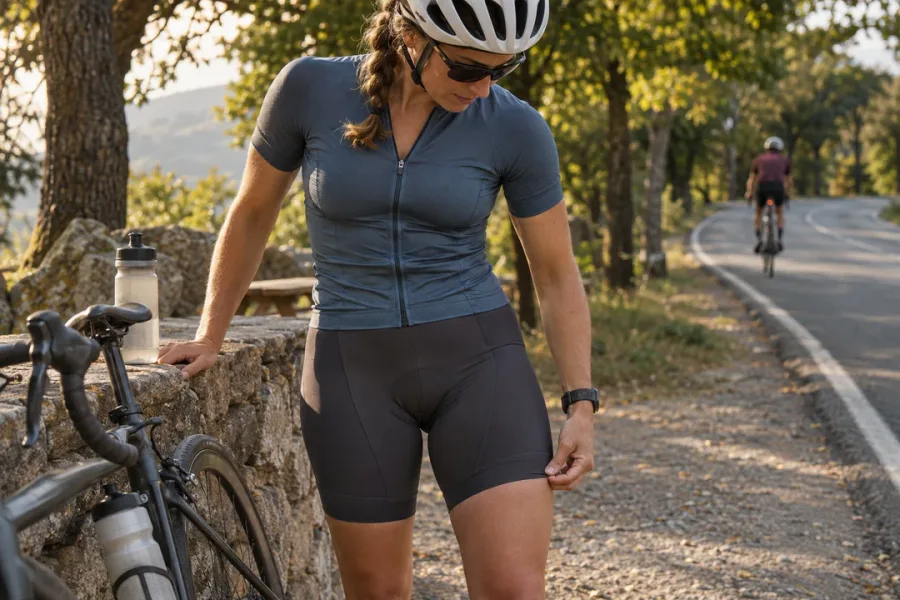
To reduce chafing when cycling, start with padded shorts that stay in place, clean and dry clothing, and a saddle setup that suits your riding position. Notice where and when irritation starts. Rubbing at a leg opening, irritation next to a pad seam and soreness after a long stretch on the saddle point to different problems. Change one variable at a time so you can identify what helps. Sports medicine guidance describes friction, moisture and pressure as common contributors to saddle-area irritation. Cleveland Clinic guidance on saddle sores
1. Test how the shorts fit on the bike
Put on clean cycling shorts and lean forward into your usual riding position. Check that the padded insert, called the chamois, stays centered and lies flat. The legs should feel secure as you pedal. Look for bunching at the hips, rolling at the leg opening or a waistband that pulls down when you bend forward. Do this check sitting on the bike as well as standing in front of a mirror, because the fabric takes a different shape when your hips are flexed.
Try a bib and a waist short if you can. Bib straps can hold the garment higher without a waistband doing all the work. Waist shorts may suit riders who prefer a simpler fit or easier stops. Check the height of the bib straps, the rise at the back and the position of the pad on the body. The cycling shorts and bib shorts comparison covers construction and practical differences.
2. Identify the seam or edge that rubs
After a short test ride, note the location of discomfort. If it follows a line at the inside of the leg, check the seam and leg opening. If it lines up with the edge of the chamois, turn the shorts inside out and feel the stitching and the transition from pad to fabric. A thick ridge or a pad that shifts when you pedal is worth investigating before your next long ride.
Keep the first test short and close to home. Wear the shorts as designed and check the garment’s instructions about base layers, care and use. Adding a layer changes where seams and moisture sit. If you use an anti-chafing product, follow its directions and patch-test it on a short ride so you can spot any irritation. A cream may reduce rubbing but repeated pressure in one spot still warrants a fit check. Cleveland Clinic guidance on chafing
3. Check your saddle and riding position
When the same discomfort returns with different shorts, write down whether it starts on flat roads, on climbs or after spending a long time in one position. Look for clues such as sliding forward, repeatedly shifting to one side or rocking at the hips. Bring those observations to a qualified bike fitter or bike shop. Useful details include the bicycle, saddle, current setup and where you feel pressure.
If you adjust a saddle, record the starting position and make one change before the next short ride. This makes it easier to compare the result or return to the original setup. When conditions are safe, shifting position on longer rides gives the same contact points a break. The aim is a comfortable position you can maintain through your usual terrain.
4. Change and wash kit after each ride
Bring dry clothes if you will be traveling or sitting for a while after the ride. Change out of damp kit when you finish. Wash shorts according to their care instructions and let them dry fully before the next wear. For multi-day rides or busy training weeks, plan enough pairs to allow for drying time. Add this step to the kit checklist alongside water, spare layers and weather protection.
Inspect clean shorts as they age. A stretched leg band, roughened fabric or loose pad stitching can change the fit even when the shorts look fine from the outside. A photo of the inside seam and pad when the shorts are new gives you a reference for later comparison.
5. Compare changes before a long ride
Use the same short route and similar conditions when you compare gear. Record the shorts, ride duration, where irritation began and whether it returned. Keep the saddle setup unchanged while you compare shorts. For a saddle adjustment, keep the rest of the kit consistent. Stop riding if the skin becomes painful or breaks. Seek medical advice for symptoms that persist, worsen or show signs of infection, such as spreading redness, warmth, pus or fever. Cleveland Clinic guidance on when to see a doctor
A fit checklist for club kit orders
Ask riders of different sizes to try the shortlisted garment on the bike. Include both a rider who prefers a close race fit and one who wants more room. Record pad position, leg band pressure, movement at the seams, strap length, and comfort in a riding position. Ask each rider to describe the same points after a short test, then wash one sample as directed and inspect the fit again. For an order brief, share the size range, garment style, expected ride duration and fit feedback. Review custom cycling shorts or custom cycling bib shorts with those notes in hand.