
Cycling club jersey fit and order guide
Pick a club jersey fit by testing a sample in the riding position your members use. Then build a size-by-size order and check the artwork around the zipper, seams, and pockets. That sequence makes it easier to approve a jersey riders will use throughout the season.
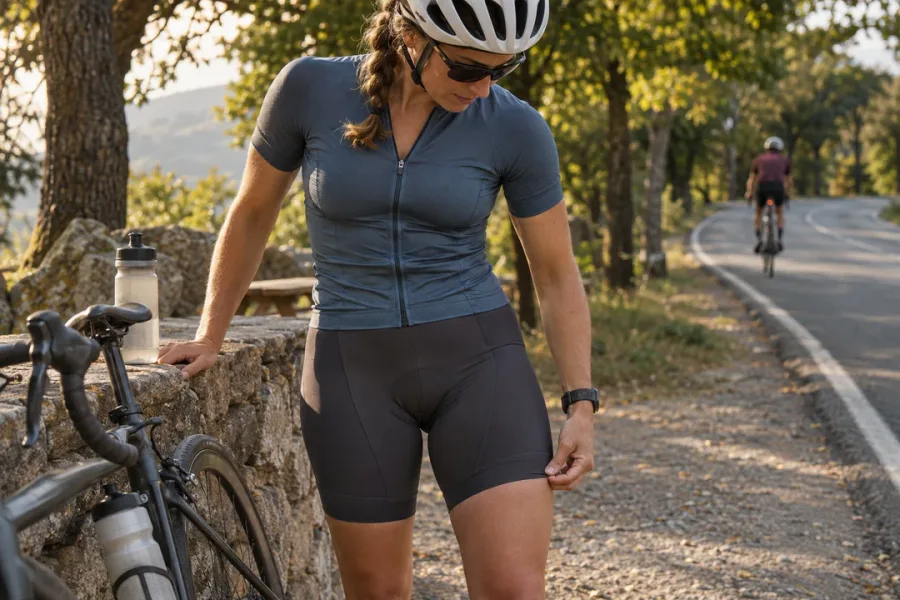
Define the ride before choosing the fit
Write down who will wear the jersey and where it will be used. For a broad club order, consider group rides, training, and members who prefer room for a base layer. A race group may want a closer fit around the arms and torso. If a club wants one design across several fits, check whether the supplier offers those cuts and whether the artwork needs a separate layout for each.
Terms such as race, club, and relaxed fit vary across suppliers. Ask for a size chart and sample of the specific cut you are considering. If a member already owns a well-fitting cycling jersey, compare the measurements and cut as a reference. Avoid transferring that member’s usual T-shirt size directly to a cycling garment. The panel shape and intended posture can be different.
Evaluate the fit on the bike or in riding position
Have riders try a sample with the base layer and bib straps they normally wear. First look at the jersey standing up. Check that the zipper closes without strain and the sleeve ends do not dig into the arm. Then have the rider lean forward and reach as they would on the bike. Check the back length, the position of the front hem, and whether the collar, zipper, or shoulders feel restrictive. Use a stable setup for the fit check.
If the design includes rear pockets, check reach using the kinds of items members normally carry. Observe whether the jersey shifts when the pockets are lightly loaded and the rider reaches down. Ask riders to compare adjacent sample sizes if they are between sizes. Note the difference in sleeve fit, chest comfort, and back length before making the choice.
Record the selected sample cut and size next to the rider’s order row. If fit sessions happen at different times, make sure the same sample set and measurement chart are used. A size label from another supplier or an old club jersey can serve as a starting point, but the new cut should guide the final choice.
Decide which details the riders actually need
List the expected season, sleeve length, preferred zipper, and pocket setup. For mixed seasons, consider how much room is needed for layering. Ask which features are part of the quoted design and which require a different garment. If members need both short and long sleeves, decide whether to collect separate size counts and how the design should carry across the two versions.
Give the supplier specific observations instead of broad labels. For example: most riders use a light base layer, want short sleeves for summer road rides, and need rear pockets they can reach in a forward position. Clear use cases make it easier to compare designs without assuming that every feature will be available together.
Proof the sponsors and club colors across garment panels
Collect the approved club logo, sponsor files, and color references before finalizing the layout. Record which sponsor belongs on the chest, back, and sleeves. Ask to see each panel and the assembled garment in the proof. Check for any graphic interrupted by the zipper, collar seam, pocket openings, or side panels. If a logo extends across seams, ask how its alignment can vary across sizes.
Use artwork you are allowed to reproduce and confirm the spellings and current versions of sponsor marks. Review small text on sleeves and rear pockets at the intended print size. If a specific color match matters, ask how the supplier evaluates it on the chosen fabric and whether a physical reference can be reviewed. Screens can display the same artwork differently, so a written color reference keeps expectations clear.
Build an order sheet for the club coordinator
Create one row for each member’s order, with a roster ID, garment cut, approved size, quantity, and any personalization the club has chosen. Keep jerseys and other kit pieces in separate columns or rows. A member may wear a different size in bib shorts and a jersey. Total the entries by garment and size, and separate spares from member orders.
Ask a second person to reconcile the totals with the club’s member list. Check for duplicate rows, missing sizes, and requests that would change the approved artwork. Keep the order sheet, size chart, sample approval, and sponsor proof under the same version label. If the club adds new riders later, the coordinator can use the retained reference to compare the new request.
Prepare a quote request around the club’s actual deadline
Send the ride use, garment cut, requested features, size totals, design files, delivery destination, and when the riders need the kit. Ask which choices still need a physical sample or written proof. Request separate figures for sample or artwork charges, garment costs, and shipping. If an event date is fixed, ask what must be approved and by when.
When reviewing the proposal, compare the garment details and delivery terms with the same order sheet. Confirm who gives the final approval and how additions will be handled once the order is placed. After delivery, check the sizes and artwork against the approved version before distributing the jerseys to riders.
Keep a fit and artwork reference for later club orders
Retain the approved sample and label it with the garment cut, size, and order date. Save the current size chart and final proof with it. If the club changes a sponsor or adds a new jersey cut, copy the previous order record and mark the details that changed. Ask the supplier to confirm whether the old sample still represents the current cut and fabric before using it as the size reference for new members.